Click to view our Accessibility Statement or contact us with accessibility-related questions


Showing 1 of 19 reviews about:

anon123
5
Oct 31, 2019
bookmark_border
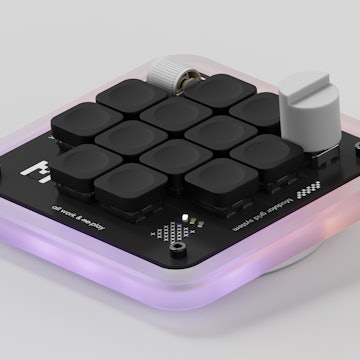
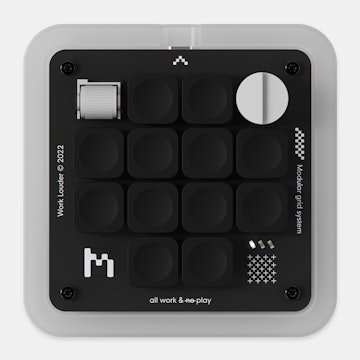
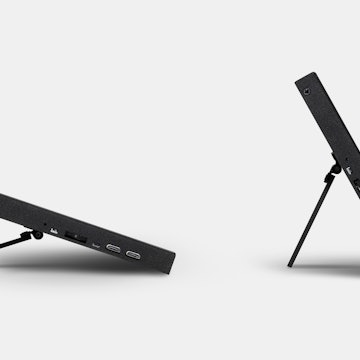
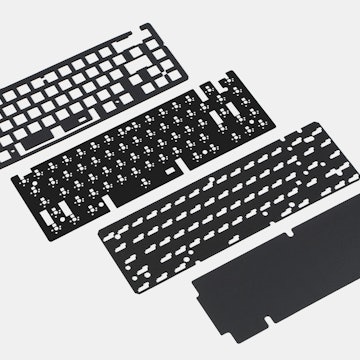
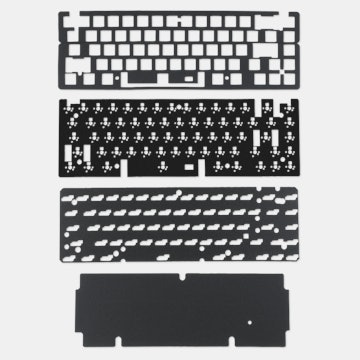
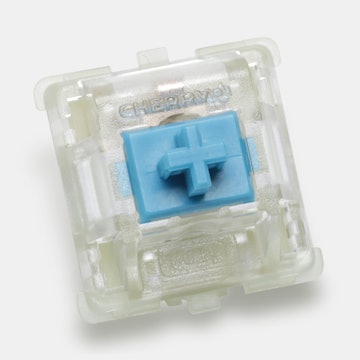
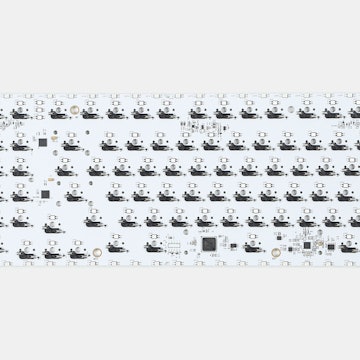
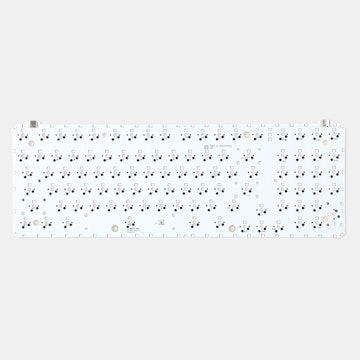
pocketoperatorThe metal grid piece on my just floats around. Its not secured in any way. Am i missing something?
pocketoperator
189
Oct 31, 2019
bookmark_border
anon123Yeah that's correct. The only thing holding it in place are the switches. It might depend on the quality of the cut though, because, as you see above there are definitely holes where the screws are supposed to go through, but they're not really touching or securing the metal, so if you turn the board over without the switches inserted, the grid piece will just fall out (not happening with switches inserted). At least that's the case on mine, others might have gotten a better cut grid piece, but I'm just assuming.
(Edited)
pocketoperator
189
Nov 15, 2020
bookmark_border
ShalakazaamPretty sure I could resin cast something like that. But given the build it would leave most of the MX switch exposed. I can give it a try though and see how it works out. Would be an interesting experiment.
Shalakazaam
596
Nov 15, 2020
bookmark_border
pocketoperatordo it, take some pics, and show me how it goes!!
Related Products

Drop Refurbished
Like-new products you can trustDrop Rewards
Get $5 for every 500 points you earn! Learn more
Drop Keyboard Club
Become a member and expand your keycap collectionCollaborate With Us
For Brands & DesignersFollow Drop
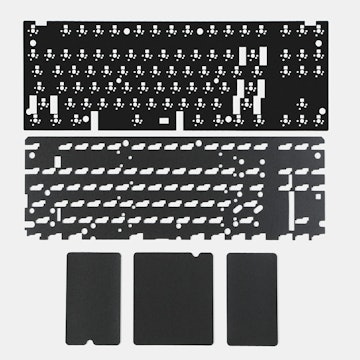
My success stems completely from "textonly" and "blacksunix"posts under the BM-16A drop discussions https://www.massdrop.com/buy/bm-16a-16-key-programmable-mini-pad-kit/talk/2331792 READ these. The only changes I made were to use the json layout files for the BM-16S from the Google Drive
Get: QMK Toolbox from Github, install it Get: the default JSON and instructions from manufacturer Google Drive. This is on their Aliexpress page for the BM-16A as mentioned by "jf647" here. So you can just search for it as well.
- I used https://kbfirmware.com/ to modify my layout. Upload the "BM16S.json" file from the manufacturer Google Drive pack into kbfirmware.com
- This loads the basic layout in kbfirmware.com. Customize it
- Backup your json if you wish under the Settings tab. Then go to the Compile tab and export the ".Hex" file and load it into QMK Toolbox. Make sure the right chip is correctly selected in the toolbox UI
- Connect the board to the computer. I shorted the reset pins, labeled "RE" next to the smaller of the board chips, with a pair of needle nose pliers. Definitely gonna solder and run an external switch there at some point...
- The keypad will be put into DFU mode with this reset, and will then be visible in the QMK Toolbox console. Here you can flash your custom Hex file to the board
- Unplug, replug
------------------------- Note that the Google Drive JSON can be found here: https://drive.google.com/drive/folders/1tlTHQIFcluK2mjZ4UbbKCsdRLgSRSPw6 Here are some pics of how I shorted the terminals in the RE box: