Click to view our Accessibility Statement or contact us with accessibility-related questions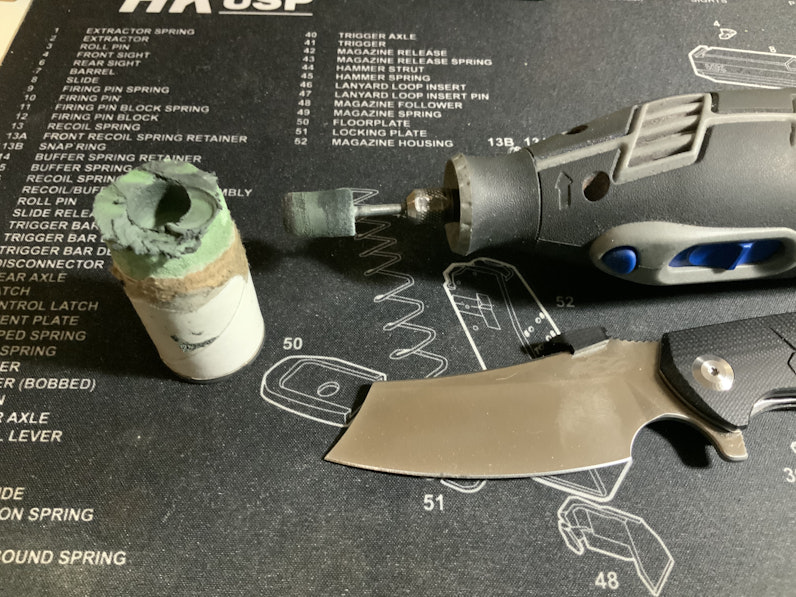


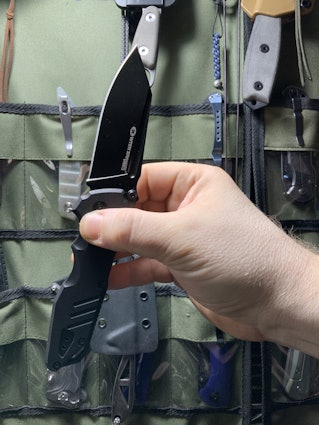
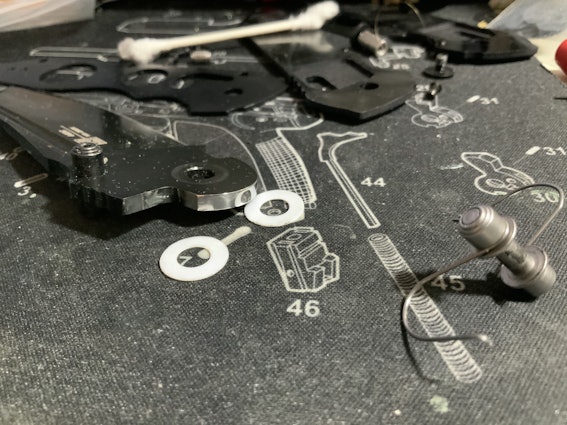
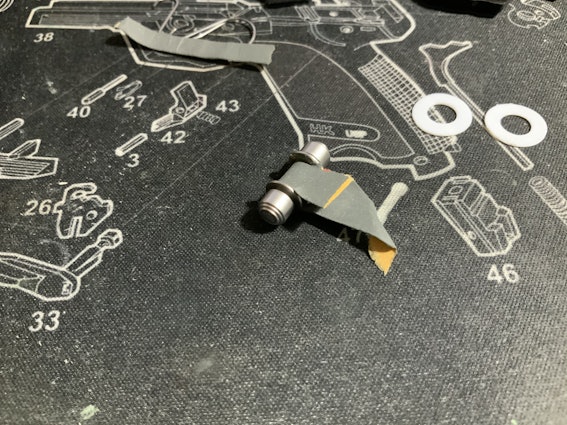
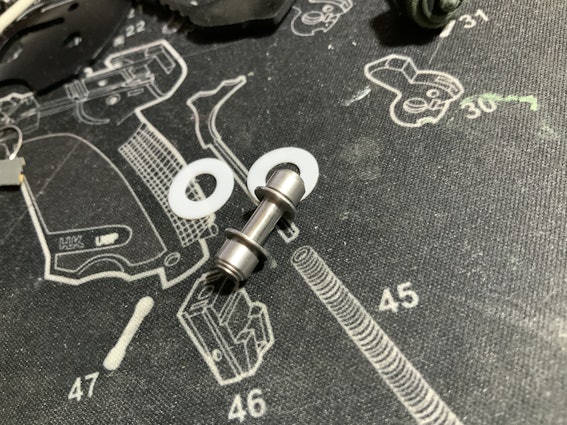
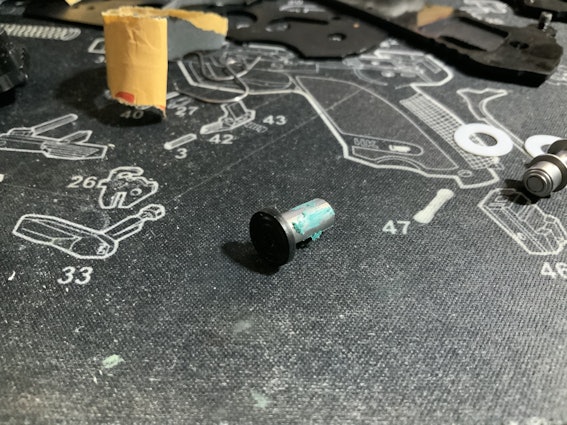
Basic Flip Smoothing
(Edited)
search
close
Sort by: Newest
keyboard_arrow_downreswright
3852
Mar 23, 2021
7 Tips for Budget Knife Enhancing --
If reading any of this has motivated you to start taking apart and improving your knives, that's great. I'm going to leave you with a few last tips that will help you immensely on your journey, at least if your experience turns out to be anything like mine.
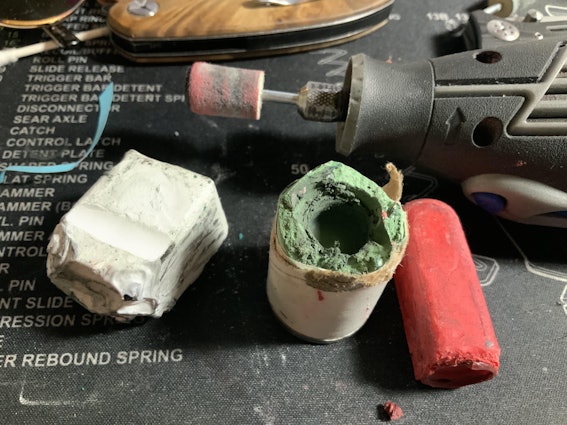
1) Get decent tools. You will need Torx T6 and T8 drivers. You will want a six piece set or better, though, because you'll occasionally encounter other sizes, like T5, T7, T10 and so on, but you can BANK on needing T6 and T8. More than one of each in fact -- they regrettably break or strip with extended use, particularly if used incorrectly. I recommend starting with a set of Wera, Felo or Wiha drivers with long handles, and at least one of the shorter and fatter drivers with sockets and replaceable bits, and a couple sets of bits to fit it. The short ones are easier to get a steady grip on, and having a steady grip both makes it easier to use and harder to accidentally round the bits or strip the fasteners.
You may want to add Torx Plus drivers and bits, especially IP6 and IP8. Torx Plus fasteners are frequently mistaken for regular Torx fasteners and unfortunately quite easy to strip with a Torx driver. But they're less common when you start out so if you have limited funds you'll do better in the beginning to get extra Torx drivers or bits instead.
2) Get a modding mat. These are silicone mats that lay flat on your desk, usually with a lip around the edge to prevent things from rolling onto the desktop. You can find many that are made for knives. Some of them are very nice but generally speaking, a mat for soldering small electronics will be better for most of your purposes and quite a bit cheaper to boot. The bigger size you get, with the more little pockets and spaces for tools and screws and so on around the edge, the more useful you're going to find it. Look for larger options with one or more magnets embedded in them as these are great for keeping loose parts together on an occasionally chaotic workbench.
You can of course get one of the ones marketed to knife people for knife breakdowns if you prefer. It'll be fine. The ones marketed for knives are priced higher with very little to show for the difference, though -- two cents from your humble narrator. If you're on a budget it's impossible to beat the soldering mats.
3) Keep the floor area clean. Because, and I can promise you this, sooner or later you'll be down in it looking for the screw or washer or pin you just dropped on the floor. Probably more often than you'd like. And the natural tendency of workshop floors is to get cluttered fast. This is a very good reason to do this work in a place where there's no carpet on the floor. Trust me.
4) Get an adjustable light. Flashlights are useful but sometimes you need both hands free. An inexpensive 'workshop' setup with a regular bulb and socket, a wire clamp and a reflective aluminum shade can do nicely for not much money.
5) Grab a pair of 4 power reading glasses. Even if your eyes are good. It makes working with the smaller parts much easier and when disassembling or reassembling the knife it makes it a lot harder to miss important details, which can be extremely small on a pocket knife. It also makes it easier to make sure you have a screw properly lined up before threading it back into the knife, avoiding messing up the threads and so on. Having these glasses at the workstation will make fine detail tasks a lot easier as well. A lot of cheap reading glasses at the store are like 1.5 power, maybe 2 power. The four power ones are super thick by comparison but they'll let you see details you'd otherwise miss.
6) Make mistakes. I did. It was how I learned many many things. It's important to understand that when you're learning stuff on your own, getting it right the first time frequently doesn't teach you anything useful, whereas making the mistake definitely lets you know what to avoid next time. In life and at the workbench, mistakes are far and away your best teachers, if the least merciful. The sin isn't in making them, it's in making no attempt to learn from them once they occur.
7) Be ready for those mistakes to occasionally cost you a knife. Sooner or later, you're going to damage a knife. Quite probably more than one. Often only cosmetically, or largely so. Sometimes you will degrade its performance one way or another. In the extreme you may render it unusable or too dangerous to use. That's the price of diving into something like this and being willing to learn through trial and error. Fortunately the great thing about budget knives is that they're budget friendly. If you screw up a knife you like, buy another one and keep the old for spare parts. Chalk it up to the knife school of hard knocks.
All this is to say, I suppose, that if the thought of ruining a budget knife trying to improve it is so upsetting to you that you'd really hate to do it, or the cost of occasionally replacing one exceeds your current means, that this is probably not the best hobby for you! OTOH if you can live with that, go at it. You might be astonished at how much you end up learning and how good you get at optimizing your pocket knives to your own preference.
The EDC community is due to sunset any day now. I've been informed that this thread and some others may be retained, but I wouldn't necessarily expect that to last long, and in any case I don't expect to be able to update this thread much longer after tonight. It would have been nice to get a chance to record more research here and demonstrate more techniques, but that's life. But if you start taking apart knives yourself and get good at it -- it will take a while, so have patience -- then take the time to pass it along to other people as well if you can. That was and always has been the point of these Drop guides many of us have authored.
Best of luck keeping your action glassy smooth, now...
reswright
3852
Mar 22, 2021
Krudo Vice after pivot freaking and Skiffs:
https://youtu.be/LORylulta1M
It's actually broken in even further since this was done. Just lovely to flip.
reswright
3852
Mar 10, 2021
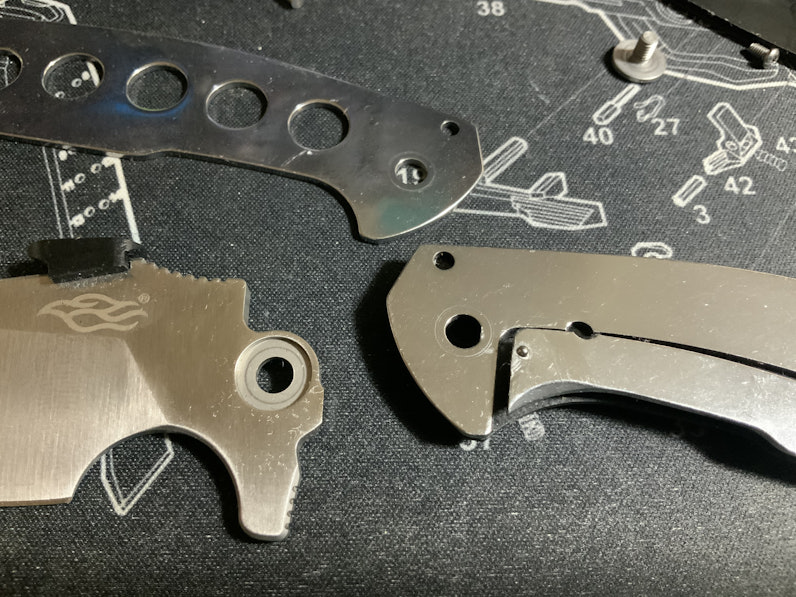
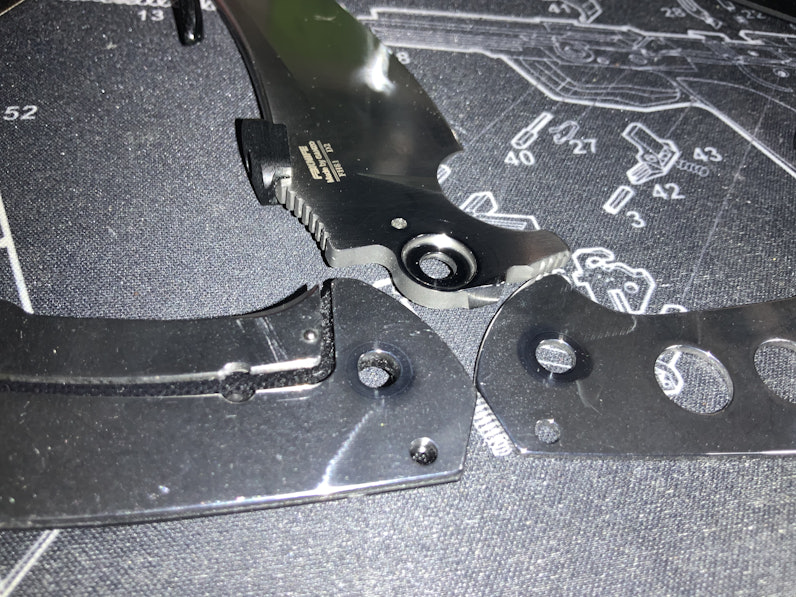
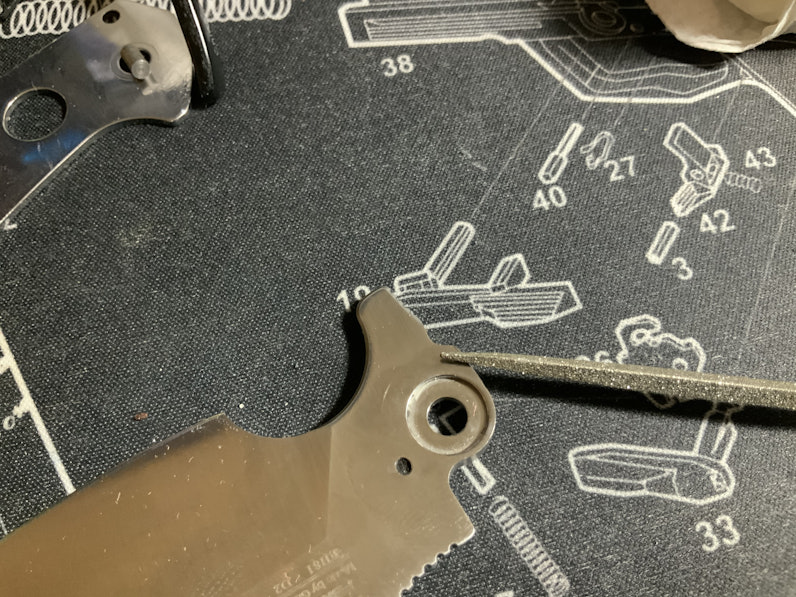
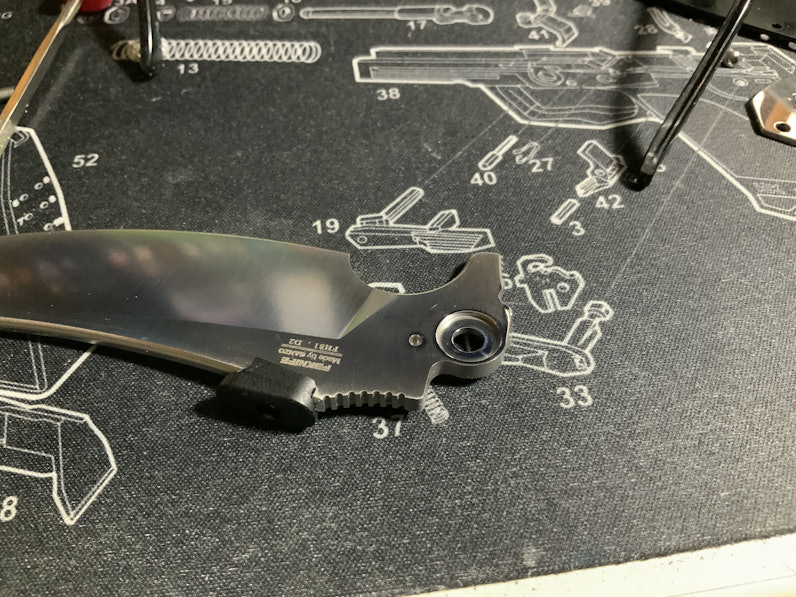
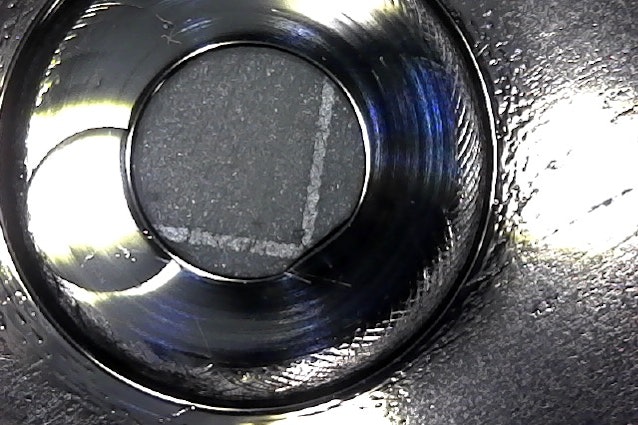
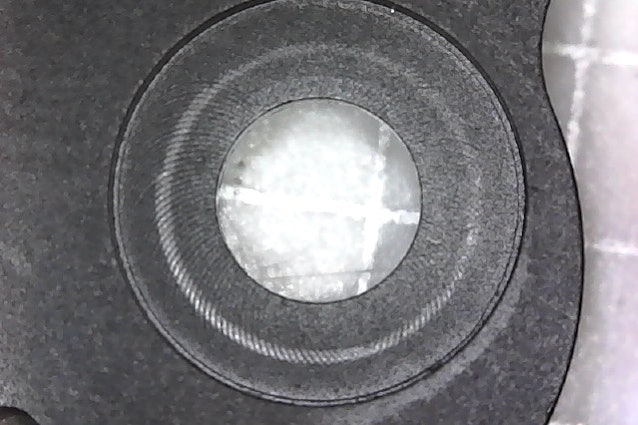
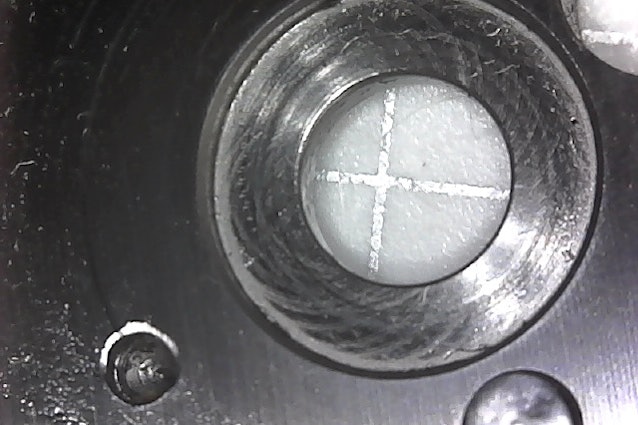
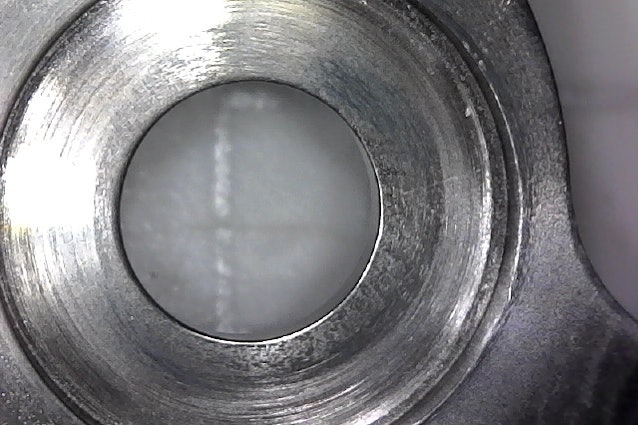
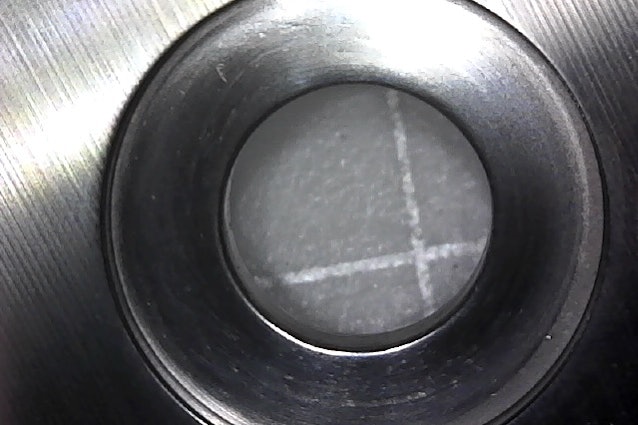
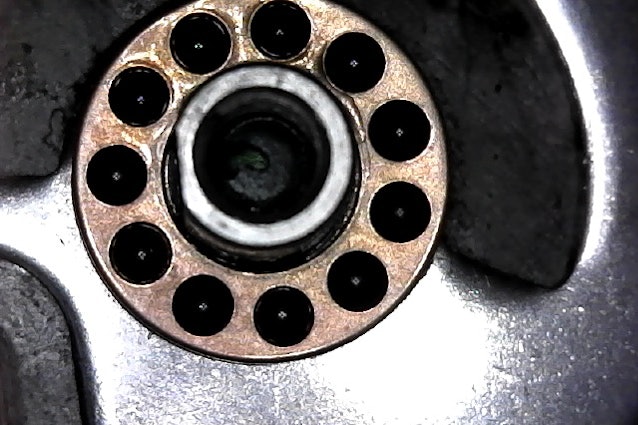
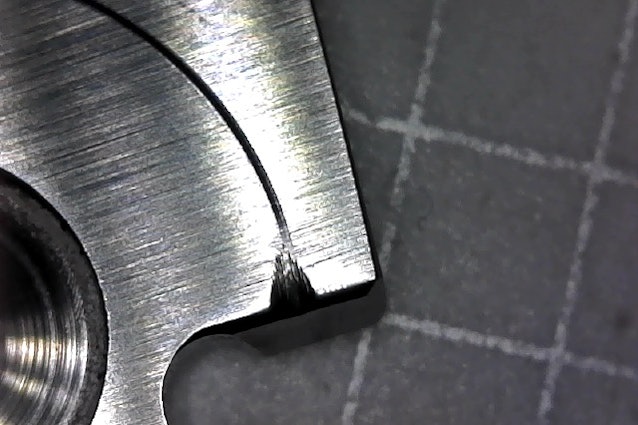
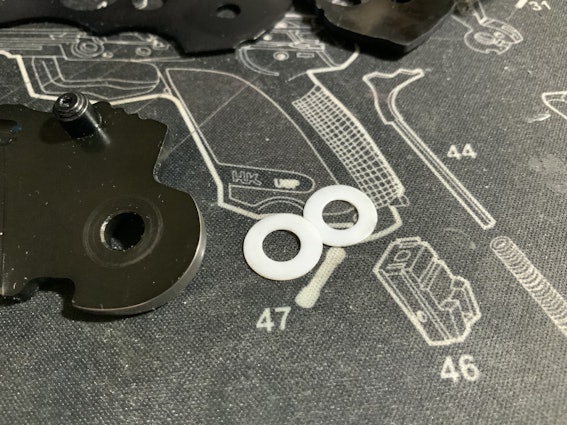
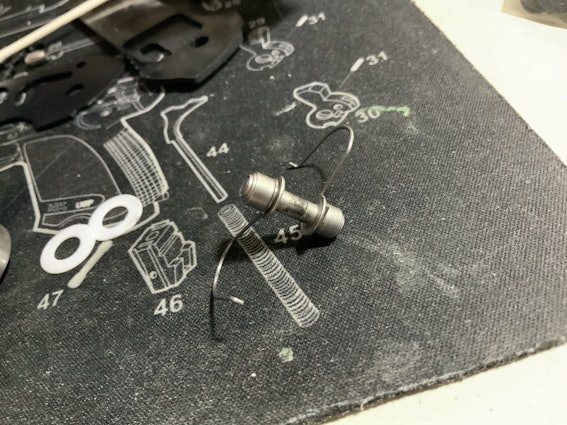
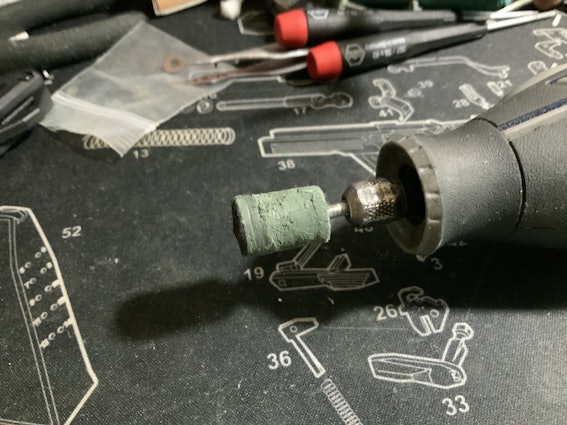
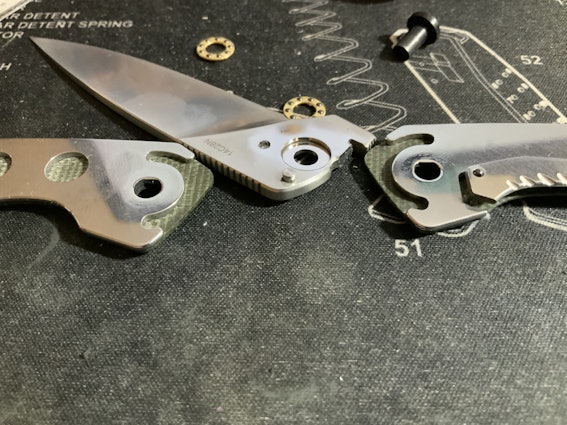
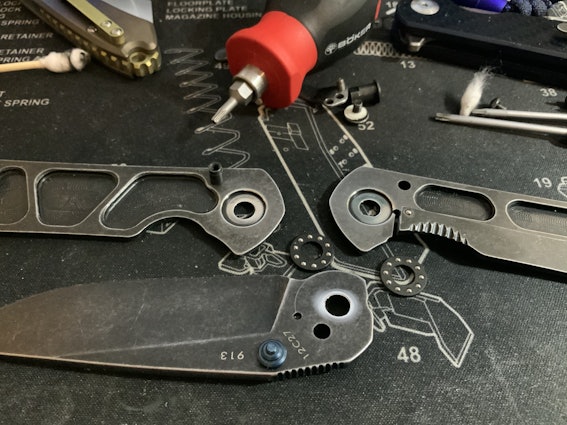
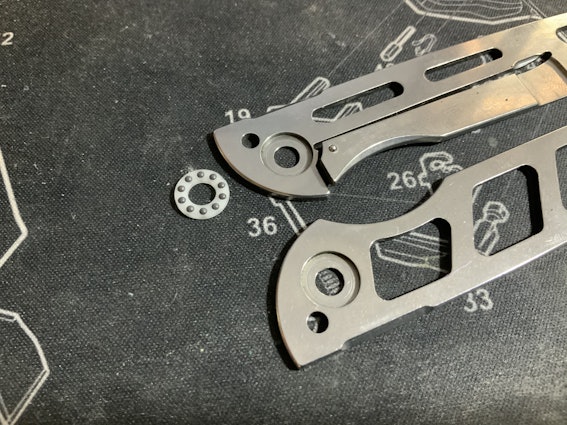
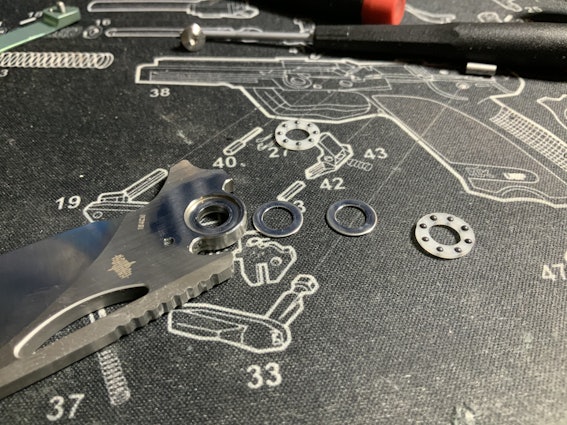
Polishing Supersteel Pivots
Most decent knives with bearing cages should be coming with at least one if not two sets of races per cage - one against the frame and one against the tang, for each side. Cheap bearing knives usually lack both sets, and sometimes have a thrust washer instead of a set of races, but in all but the highest end knives the bearings are usually left to turn against the bare tang, with maybe a race milled into it.
This is a problem on two kinds of knife. The first is the kind that's just been cheaply done and they haven't polished up the bore at all, and there's grinder marks all over the place. And some of them can be deep - too deep to polish out, like so:
mdeous
230
Mar 12, 2021
Re sharpening, yep I also feel like a lot of people who spent decades improving their freehand skills don't want to admit that (and that's probably a very unpleasant feeling to see your precious experience being replaced by a machine), I've seen many answers to questions about a guided system like "it's good but it will never give as good results as years of experience" without ever being able to explain why. I definitely think a guided system gives superior results, but on the other hand there's something really satisfying on getting great results freehand, and I'll probably continue doing it from time to time.
(Edited)
mdeous
230
Mar 12, 2021
Re polishing (the threads management really sucks here...): I see, thanks. I have to say the results you had with your blades is quite impressive! I've been thinking about getting a dremel for a few things, if the results are worth the effort (which you seem to say are) I might give this a try.
reswright
3852
Feb 27, 2021
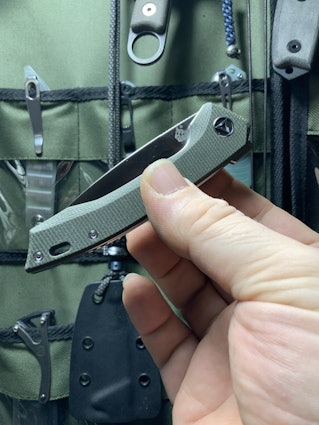
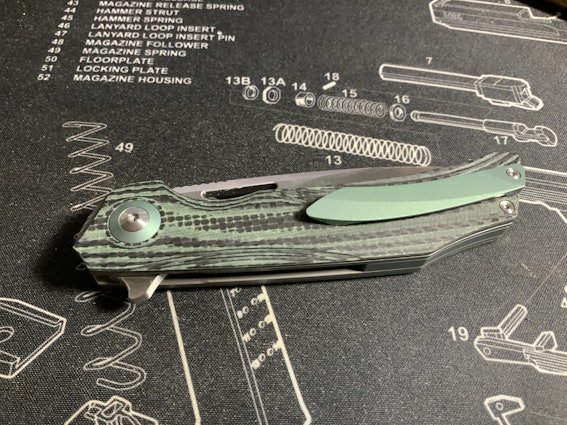
Added a detent ramp and dropped some Skiffs into my Spydie Smock:
reswright
3852
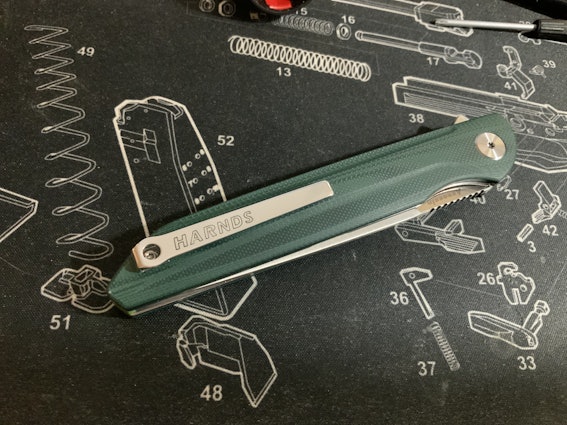
Feb 20, 2021
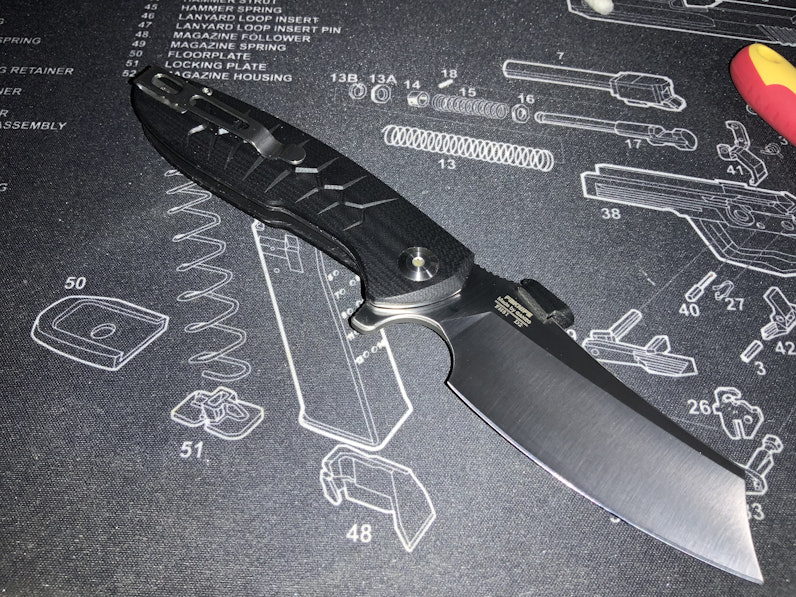
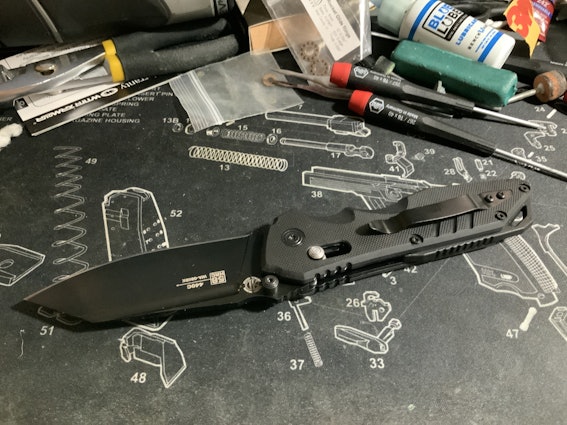
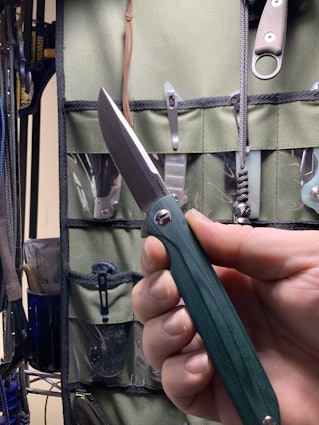
Smoothing a Crossbar Lock Flip
This is the WithArmour WA-080, a relatively inexpensive crossbar locking knife.


(Edited)
reswright
3852
Feb 14, 2021
Freaking the QSP Leopard

@method_burger - I like my Leopard now.
@method_burger - I like my Leopard now.
(Edited)
reswright
3852
Feb 17, 2021
That sounds about right. Not a lot to be done for that flipper tab - I suppose grinding away part of the liner and scale might give a little more room to get on the tab, but the tab's always going to be too small and angled an awkward way. I was just kinda happy that I could flip the thing open without fighting it and without my fingertip feeling hard used in the process.
method_burger
563
Feb 18, 2021
reswrightyeah, theres a lot going on with this knife, thats a huge positive. the scalloped liners are such a nice touch i wish all liner lock knives did that. and they go and ruin it with that weird flipper tab. wouldve easily been a 10/10 with like 3 slight changes (flipper tab, back backspacer, and the weird pointy bit on the butt of the handle) qsp missed a home run with this
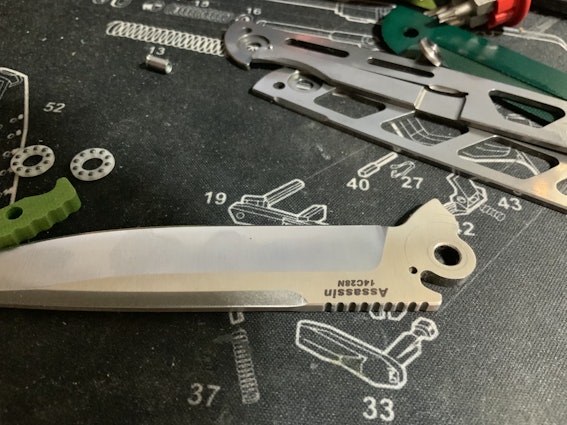
reswright
3852
Feb 12, 2021
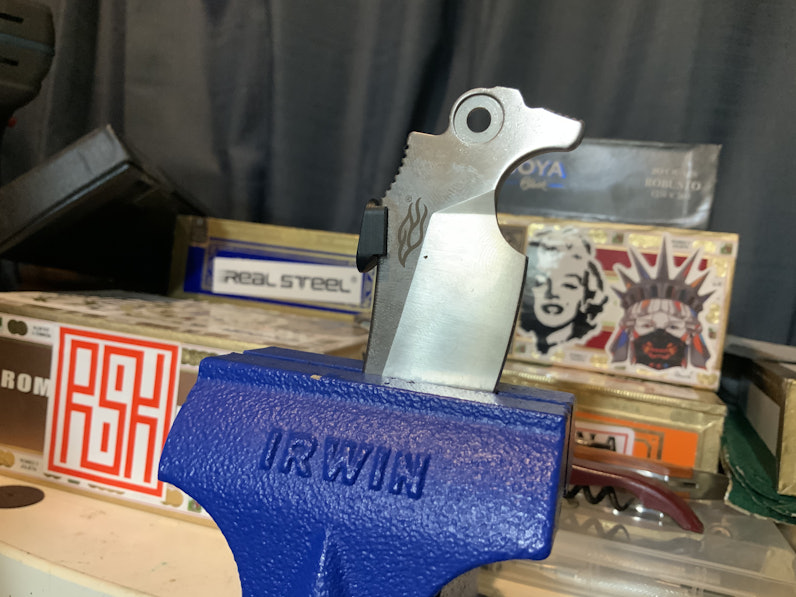
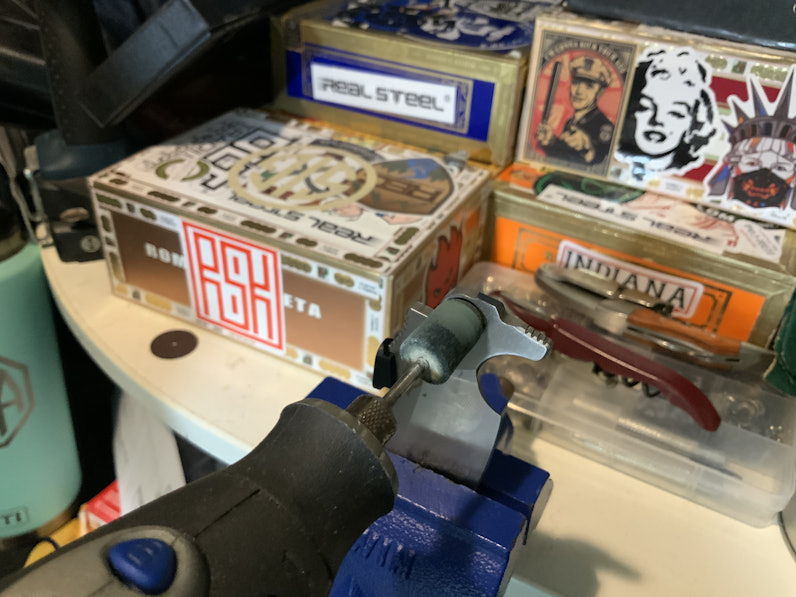
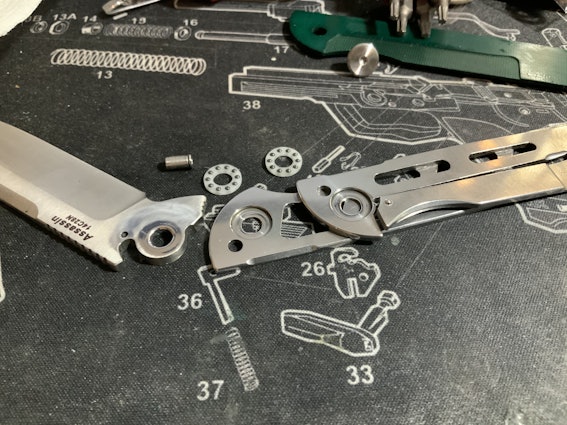
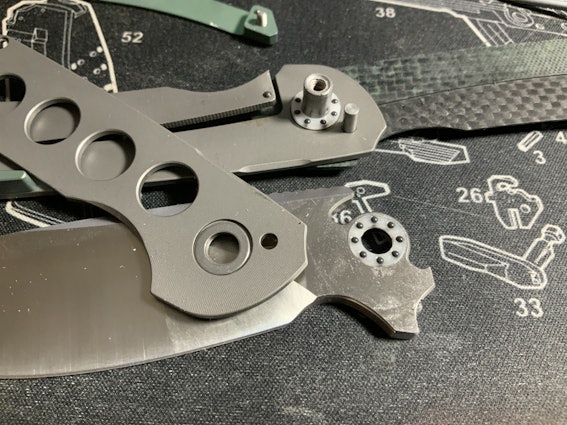
Freaked Assassin
in which your intrepid narrator freaks his double dyed Harnds Assassin.
reswright
3852
Feb 9, 2021
Falko Freaking
this is the Bestech Falko, by Kombou. Out of the box it’s smooth but not dropping closed.
(Edited)
reswright
3852
Feb 6, 2021
This is a short clip of the FT11 opening and closing after I polished the works. https://youtu.be/2SgLUiYhj14
Showing 25 of 29
PRODUCTS YOU MAY LIKE


Trending Posts in More Community Picks

Graham88
Completely surprised by the lack of blade diversity here on Drop...
I’ve been a collector of Blades since before my teens, and a retailer coming up on 15… or maybe 20 years. Drop has really been kind of an interesting experience for me, because I do occasionally get to see some unusual tech and sometimes EDC items that otherwise I might not have been aware of. And maybe it’s because I have a deep love of cutlery and bladed weapons, but I find myself trolling through the site looking at it what’s available; and it’s just it’s pretty much the same. And the bladed community here is just always confused me.. every single knife is about the same, they’re almost all drop points and although the handle materials change and brands change.. it’s really just the same knife over and over and over again... occasionally you’ll see a tanto or a slight variant; but rarely… and almost never a serrated blade. And I’m just deeply amazed at this diversion of serrated blades. And I’m just surprised there isn’t more of a request for diversity here.... and I...
Mar 12, 2020
JellyDPhoto
Can we get Sony E-Mount or other mirrorless camera options please..
Would be nice to see some Sony E mount full frame cameras on here. I currently shoot with a A99 and they killed the lense path for better or more option lenses and now is all E-Mount. 🤔
Jan 13, 2020

RayF
There Are Pandas, and Then There Are Pandas.
And this isn't either of them! The Pandas we're talking about here, are watches, not bears. And what got me thinking about them (again) was a link posted this morning by @cm.rook who pointed a few of us to the very attractive (and not terribly priced) Yema "Rallygraph" Panda which, in it's most traditional arrangement, looks like the one on the left, but can also be had in the version on the right: The model on the left is a true Panda, while the model on the right is called a reverse Panda. The reason for that distinction is clear--Panda bears, only come in the first arrangement. Now at this point, everyone should be thinking about the most well-know Panda, The Rolex Panda, which is actually a Daytona, and among Rolex Daytonas, the most famous of which is the Paul Newman Daytona, which was famous first, because it was Paul's, and second because it sold at auction for $17.8 million (US Dollars). The story of that auction is well-known so I'll only...
Nov 8, 2019
Drop Refurbished
Like-new products you can trustDrop Rewards
Get $5 for every 500 points you earn! Learn more
Drop Keyboard Club
Become a member and expand your keycap collectionFollow Drop