Click to view our Accessibility Statement or contact us with accessibility-related questions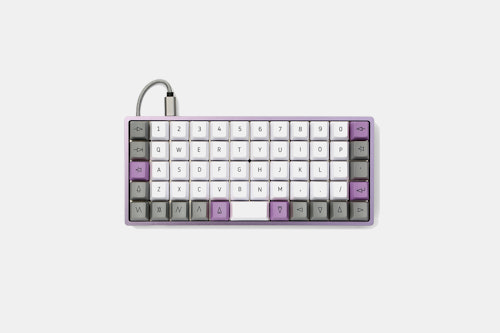


Drop + OLKB Preonic Keyboard MX Kit V3
01 / 29
Drop + OLKB Preonic Keyboard MX Kit V3
bookmark_border
Where's the price?
To negotiate the best possible price for our customers, we agree to hide prices prior to logging in.
18K requests
·
Free Returns in USA
Product Description
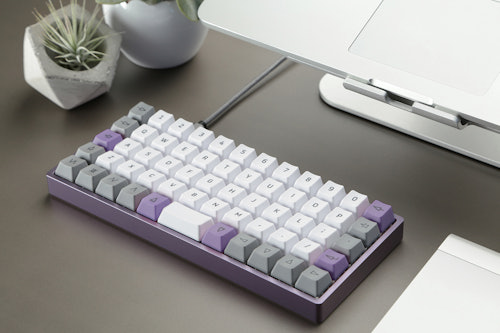
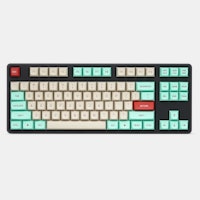
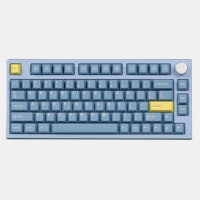
The original Preonic keyboard was praised for its build quality, compact form factor, and intuitive layout—and the new version is no different. However, this time around we're offering the CNC-aluminum case in your choice of five colors, including the striking new purple colorway Read More
Review Highlights:
expand_less


Q&A Highlights:
expand_less


You Might Also Like


Specs
- Designed by OLKB
- Produced by Drop
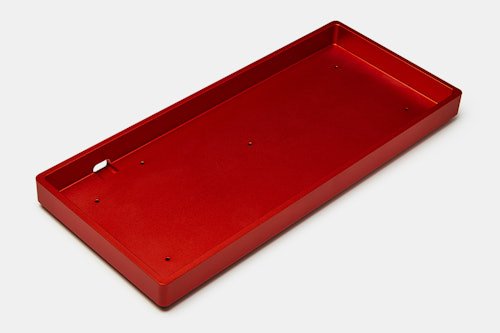
- Anodized CNC aluminum case
- ARM STM32 processor
- Reprogrammable Matias / MX-compatible PCBA
- 304 brushed stainless steel top plate
- Rubber feet
- Dimensions, assembled: 9.1 x 4.1 x 0.9 in (23.1 x 10.4 x 2.3 cm)
PCBA
- Pre-soldered
- Pre-programmed
- 9x bottom-lit RGB LEDs: RGB LEDs that glow through the bottom of the case (acrylic cases would be preferred)
- Standard layout
- Cherry MX and Matias/ALPS switch footprints
- LED ready
- Built-in speaker
PCBA Footprints for Extra Capability
- Footprint for a 4-channel DIP switch (210-4ES): A DIP switch is just 4 little switches combined into one (the Poker has one for settings)
- Footprint for a 2-pin JST-PH (PRT-09749): This is a power adapter plug for wireless builds (Bluetooth, etc.)
- Footprint for a 4-pin Qwiic (I2C) JST-SH connector (PRT-14417): Makes it compatible with Sparkfun’s Qwiic system
- Footprint for a clickable (worked into the matrix) rotary encoder (COM-09117, et al): This will spin and click to allow even more customization
- Footprint for a 6-pin male/female header (PRT-09015 or PRT-12590, et al): For development and DIY projects
Included (Base Price)
- PCBA
- Steel plate
- CNC case (anodized if aluminum)
- USB-A to C cable
- PCBA-mounted stabilizers
- 5x M2x14 mm Phillips flathead machine screws
- 5x M2x3.5 mm brass spacers
- 5x M2 nuts
- 4x rubber bumpons
- 1x socket wrench tool
IMAGE DISCLAIMER
Images are for illustration purposes only. The color(s) of the final product may differ slightly.
RETURNS—NO QUESTIONS ASKED
We get it. Sometimes what you ordered just doesn’t work out. If that’s the case for you, don’t fret! All customers (both US and international) may return this item in new, unused condition within 30 days of delivery.
Shipping
Estimated ship date is Aug 26, 2024 PT.
Payment will be collected at checkout. Cancellations are accepted up to 2 hours after checkout for in-stock items, or up until pre-order ships.
Recent Activity


Related Products


Drop Refurbished
Like-new products you can trustDrop Rewards
Get $5 for every 500 points you earn! Learn more
Drop Keyboard Club
Become a member and expand your keycap collectionFollow Drop