Click to view our Accessibility Statement or contact us with accessibility-related questions


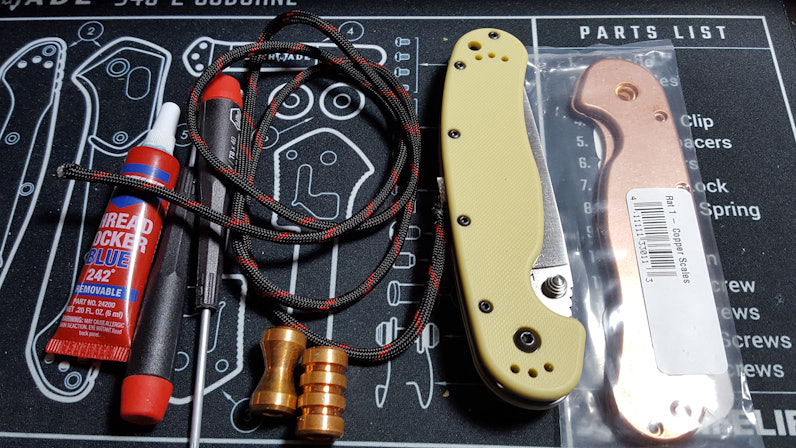
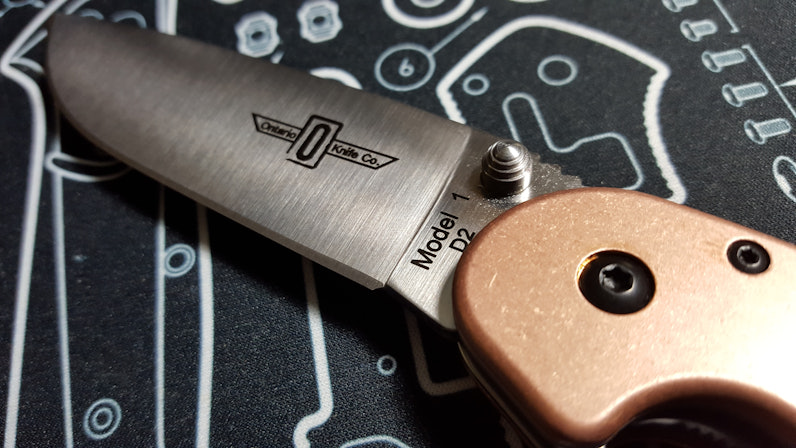
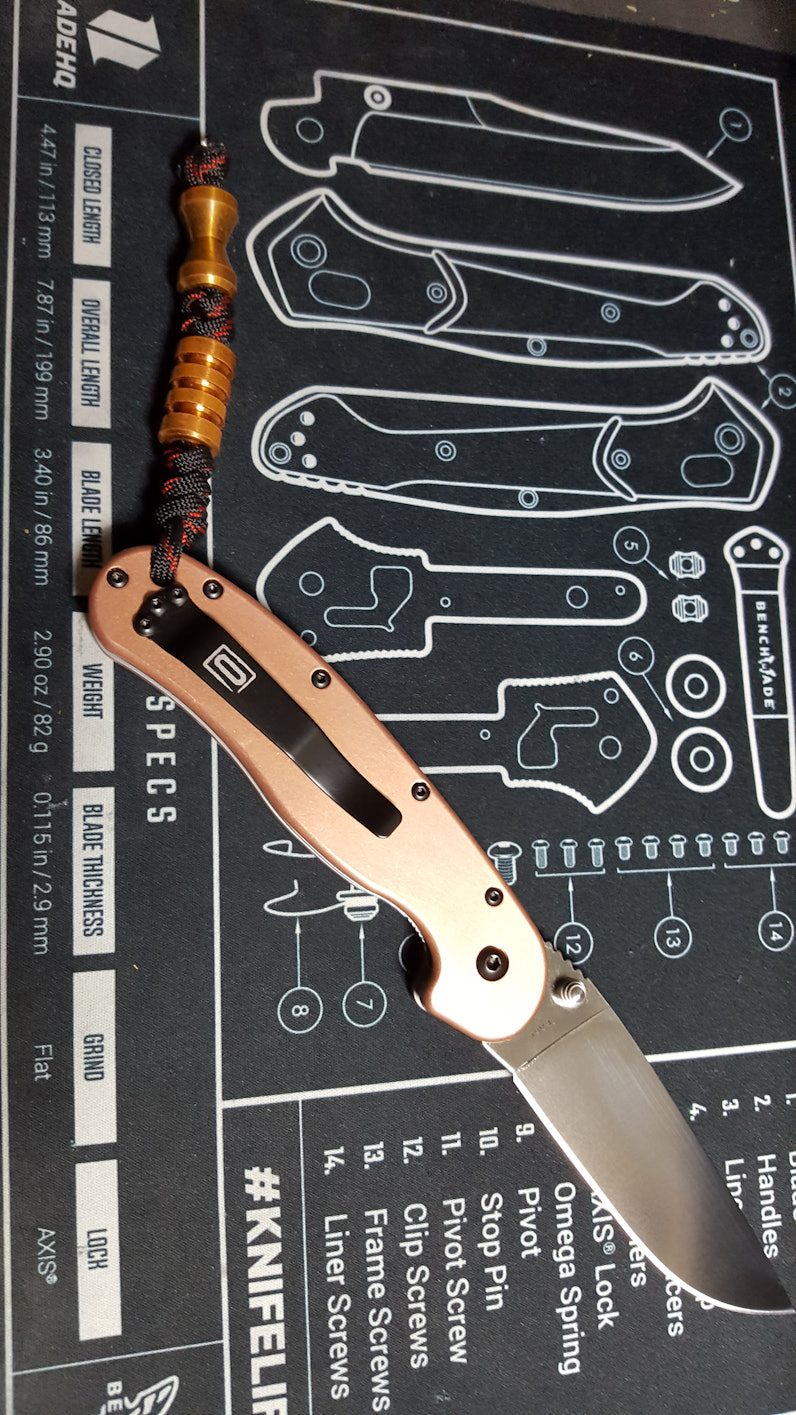
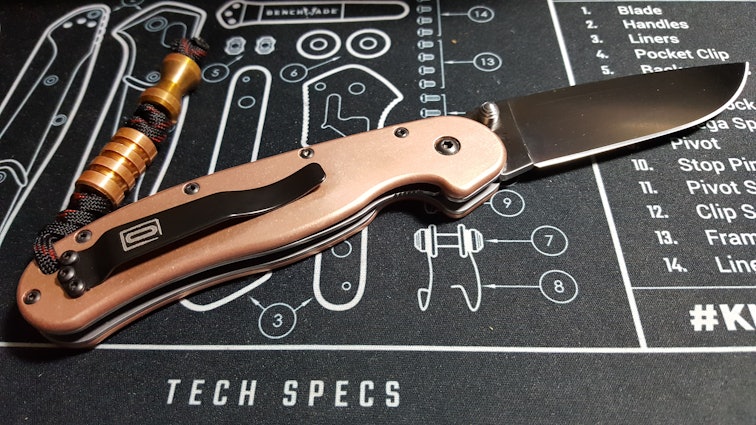
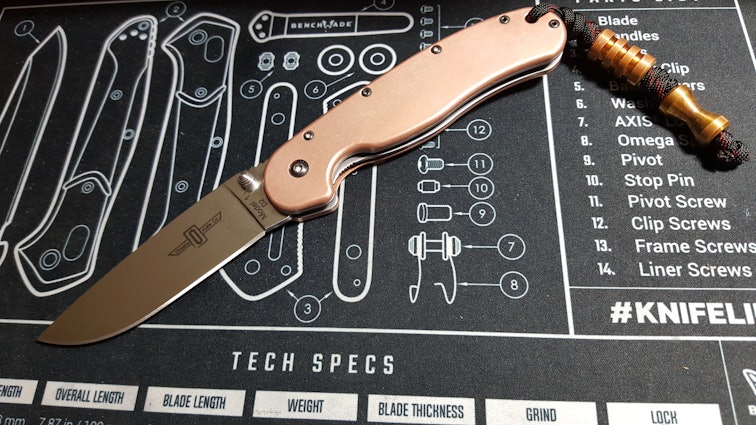
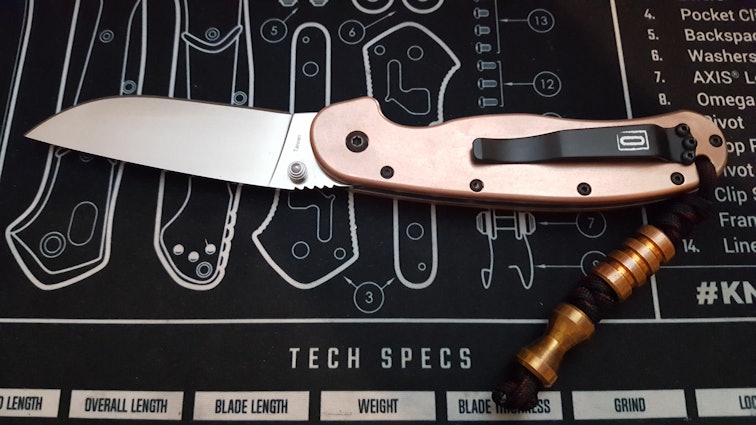
Ontario RAT Model 1, Copper and D2
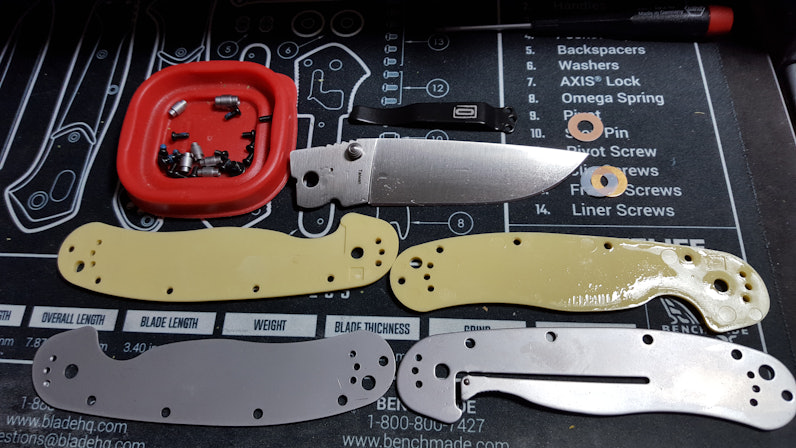
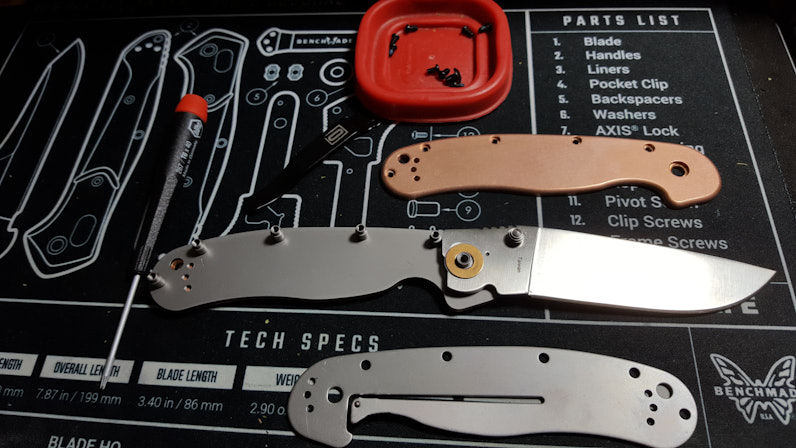
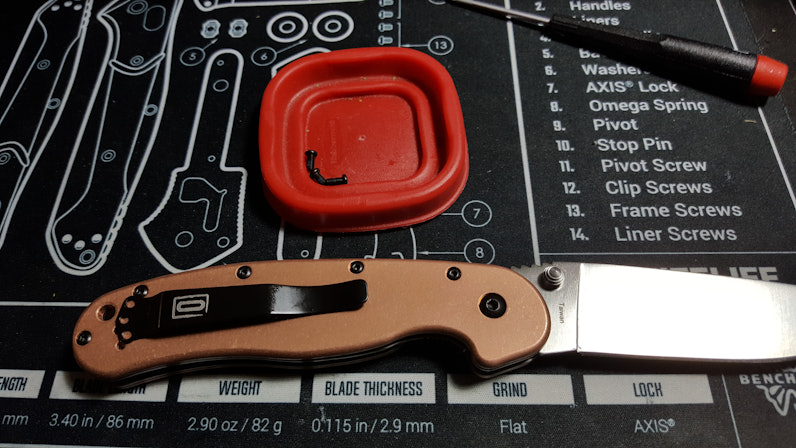
wherein I braze a rat.
(Edited)
search
close
Sort by: Newest
keyboard_arrow_downJ_applejuice
5
Nov 25, 2019
I’ve been eyeing the rat 2 and brass scales from Flytanium for a few days now. So seeing this gets me even more excited about it. Appreciate the thorough guide and will definitely come back to reference when I pull the trigger soon!
reswright
3852
Nov 25, 2019
J_applejuiceCool. All this should work just as well with a RAT 2.
Post a pic when you're done!
reswright
3852
Nov 24, 2019
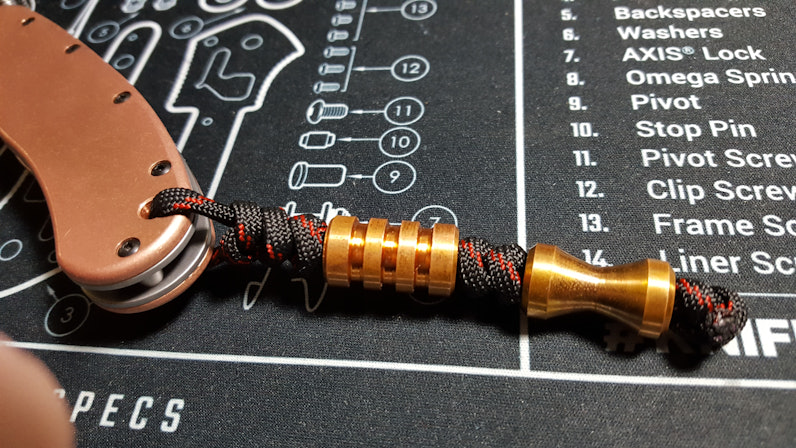
The thing I like about copper is its luminescence under light. Well, there's a ritual weight to it that's kind of pleasant in a throwback-to-the-druids way, but I like the soft glow that rough copper gets in just about any level of light.

Related Posts
BillA2021
Buy replacement quartz movement
Is an original quartz movement or a suitable substitution available for my Wenger 7900X watch at a reasonable cost, or is this not feasible I’m new at this. Thanks.
Mar 18, 2021

reswright
Basic Flip Smoothing
So you picked up a budget bearing knife as a ‘project’ knife to putter around with and you’re looking for ideas? One thing you can do is polish the bearing works, smoothing both the flip and the close action until you've got some semblance of a noiseless flick open and a smooth, gravity drop shut. This can be done many, many different ways, as many ways as there are to smooth and then polish metal; your humble narrator prefers to use a Dremel, using the following steps. I should probably make some kind of disclaimer statement here - this guide is for people already handy with a Dremel. If you’re not already handy with one it’s best not to learn how to use one while handling pocket knives or other sharp and pointy things. Hand held high RPM rotary grinding tools can be surprisingly violent if they get out of your firm grasp, they can impart an astonishing amount of kinetic energy to small sharp things you're trying to polish, sending them flying further and faster than...
Feb 6, 2021

RayF
RayF's Guide to Thanksgiving Day Watches
Please do enjoy your Thanksgiving (for those of you in countries where that means something), but please, please, please--whatever you do--don't wear either of these tacky watches while you're doing it!
Nov 26, 2020

Trending Posts in More Community Picks

Graham88
Completely surprised by the lack of blade diversity here on Drop...
I’ve been a collector of Blades since before my teens, and a retailer coming up on 15… or maybe 20 years. Drop has really been kind of an interesting experience for me, because I do occasionally get to see some unusual tech and sometimes EDC items that otherwise I might not have been aware of. And maybe it’s because I have a deep love of cutlery and bladed weapons, but I find myself trolling through the site looking at it what’s available; and it’s just it’s pretty much the same. And the bladed community here is just always confused me.. every single knife is about the same, they’re almost all drop points and although the handle materials change and brands change.. it’s really just the same knife over and over and over again... occasionally you’ll see a tanto or a slight variant; but rarely… and almost never a serrated blade. And I’m just deeply amazed at this diversion of serrated blades. And I’m just surprised there isn’t more of a request for diversity here.... and I...
Mar 12, 2020
JellyDPhoto
Can we get Sony E-Mount or other mirrorless camera options please..
Would be nice to see some Sony E mount full frame cameras on here. I currently shoot with a A99 and they killed the lense path for better or more option lenses and now is all E-Mount. 🤔
Jan 13, 2020

RayF
There Are Pandas, and Then There Are Pandas.
And this isn't either of them! The Pandas we're talking about here, are watches, not bears. And what got me thinking about them (again) was a link posted this morning by @cm.rook who pointed a few of us to the very attractive (and not terribly priced) Yema "Rallygraph" Panda which, in it's most traditional arrangement, looks like the one on the left, but can also be had in the version on the right: The model on the left is a true Panda, while the model on the right is called a reverse Panda. The reason for that distinction is clear--Panda bears, only come in the first arrangement. Now at this point, everyone should be thinking about the most well-know Panda, The Rolex Panda, which is actually a Daytona, and among Rolex Daytonas, the most famous of which is the Paul Newman Daytona, which was famous first, because it was Paul's, and second because it sold at auction for $17.8 million (US Dollars). The story of that auction is well-known so I'll only...
Nov 8, 2019
Drop Refurbished
Like-new products you can trustDrop Rewards
Get $5 for every 500 points you earn! Learn more
Drop Keyboard Club
Become a member and expand your keycap collectionFollow Drop