Click to view our Accessibility Statement or contact us with accessibility-related questions


Showing 1 of 481 conversations about:

kiyote
13
Jan 7, 2017
bookmark_border

patrickhener
15
Jan 18, 2017
bookmark_border
kkgwWell tried that. Got it in place. But now the key is sticky. Some times it cannot be pressed and then when it can be pressed it will stick in the down position not coming back up. Did I do something wrong?
patrickhener
15
Jan 18, 2017
bookmark_border
patrickhenerTried that on the second one. Same result. Getting them in is quite easy, but seems as the stabis don't work on the dsa lightcycle kit in general. I guess I have to go without them. Poor quality....
YanboWu
8490
Collaborations
Jan 18, 2017
bookmark_border
patrickhenerDid you have the inside plastic bits flipped around by accident? That will make the stabilizer stick.
patrickhener
15
Jan 18, 2017
bookmark_border
YanboWuAm I supposed to see 2 holes or 1 hole from the inside plastics facing the front edge of the Keyboard? I can insert the thread into a hole right below the stem or further down below the inside plastic. So where is it supposed to go?
YanboWu
8490
Collaborations
Jan 18, 2017
bookmark_border
patrickhenerYes, you want to fit it into the lower hole. Kind of like the photo below:

https://deskthority.net/w/images/thumb/9/96/Cherry_MX_levelling_mechanism_--_PCB_mount%2C_front.jpg/1199px-Cherry_MX_levelling_mechanism_--_PCB_mount%2C_front.jpg
https://deskthority.net/w/images/thumb/9/96/Cherry_MX_levelling_mechanism_--_PCB_mount%2C_front.jpg/1199px-Cherry_MX_levelling_mechanism_--_PCB_mount%2C_front.jpg
kkgw
27
Jan 19, 2017
bookmark_border
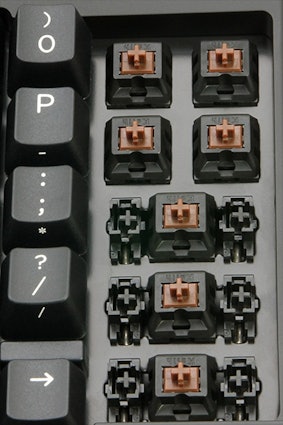
patrickhenerI don't know if this helps. After you install the stabilizer, the "stems" from the stabilizer is lower than the stem of the switch. See picture below.
My 2nd stabilizer is sticky too when I first installed it. Then I took the keycap out and pushed stabilizer firmly against the board. And the problem went away. Not sure what happened.
My 2nd stabilizer is sticky too when I first installed it. Then I took the keycap out and pushed stabilizer firmly against the board. And the problem went away. Not sure what happened.
patrickhener
15
Jan 19, 2017
bookmark_border
kkgwWell I did it right regarding the pictures. I used the right hole and they were lower indeed. But sticky. I find using the keys without the stabilizers works fine, too.
KansasCity
2
Jan 25, 2017
bookmark_border
YanboWuI installed mine exactly like the picture and they are sticky. I have the light cycle keycap set as well. I wonder if anyone with the light cycle keys has this working
KansasCity
2
Jan 26, 2017
bookmark_border
KansasCityI took some of the keys off tonight to try and resolve my issues with the keys sticking. Being that I use my right thumb 95% of the time to key spaces, the keyboard was borderline useless. As I mentioned above, I am pretty sure I installed the stabilizers correctly because the left side works fine. I was using a dark grey space bar, and decided to replace it with a light blue. That seemed to fix it, and it's working great now. So either I had the key on upside down, or that particular key was just faulty. If you are having this issue, and you know your stabilizers are on correctly, try another key.
patrickhener
15
Jan 26, 2017
bookmark_border
KansasCityThanks for this. But I decided, that I don't even need a stabilizer for a 2u key. So I will go without them which works pretty good for me. Anybody also discarding the stabis? Just curious to know.
Related Products


Drop Refurbished
Like-new products you can trustDrop Rewards
Get $5 for every 500 points you earn! Learn more
Drop Keyboard Club
Become a member and expand your keycap collectionCollaborate With Us
For Brands & DesignersFollow Drop
It IS possible to install them after, though. You just need to use a jeweler's flat screwdriver to push the wire into the clip (or a watch band tool, if you have one, the little notch makes things much easier).
1) Assemble the two sides of the stabilizer so you have them ready 2) Thread the wire under the keyboard plate and up through the top of both sides of the switch 3) Thread the two stabilizers on each side of the wire. Wire snap faces you, wire goes under the WHOLE post (part that connects to keycap), not any of the holes in it. 4) While holding the wire in place with your watch band tool, finagle the two plastic parts into place. You will have to snap the wire into the wire snaps while doing this, otherwise the plastic parts won't clip into place. 5) Drink a few shots of whiskey after you finally get it, to recover from the stress
The hardest part for me was realizing that the wire goes under the whole post, instead of what looked like a guide for it in the post. It goes under.