Click to view our Accessibility Statement or contact us with accessibility-related questions


Showing 1 of 73 conversations about:

Cres
20
Jun 25, 2019
bookmark_border
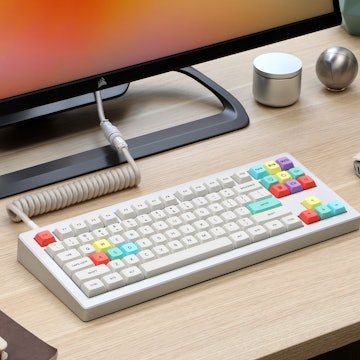
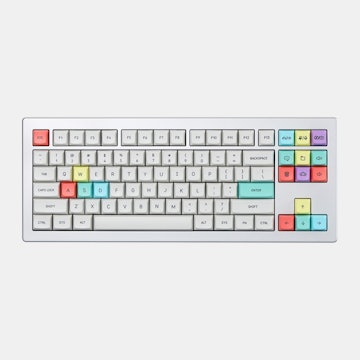
My keyboard arrived yesterday. It's working without a hitch.
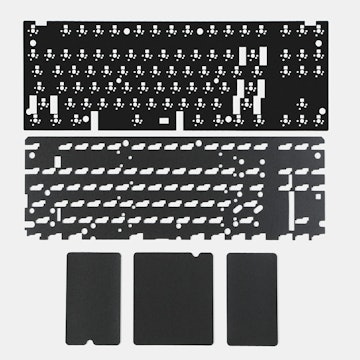
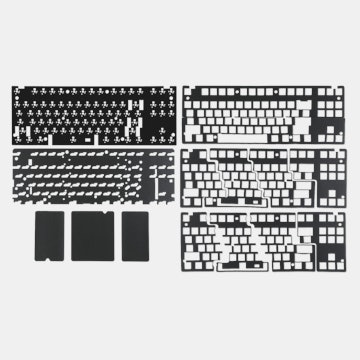
Note. If your keyboard comes with the switches already inserted on the metal plate, remove them first.
Do not put on the pcb with the switches already attached on the metal plate. Trying to put the pcb on without removing the switches will lead to a lot of bent pins and troubleshooting. After removing all the switches, only then should you screw the pcb onto the plate. Put the switches in last.
Second note. Program a reset key on your keyboard using qmk configurator.
Leave the back open on your case when you flash the keyboard the first time so you have access to the physical reset button on the pcb. The physical reset button puts your keyboard in dfu mode. You can see if your keyboard is in dfu mode inside the qmk toolbox prompts. In dfu mode, you can't use your keyboard. Click on the auto-flash checkbox in the qmk toolbox to flash your firmware when you enter dfu mode. After a successful firmware flash, you should be able to use the reset button you programmed earlier to put the keyboard into dfu mode. This way, you don't have to open your case every single time you want to flash your firmware. You do not have to drill a hole.
(Edited)
jamesk1
8
Jul 6, 2019
bookmark_border
CresThanks for this note, saved me a bit of hassle since this is my first mech, and first time with QMK.
Two other tips:
-Linux: I had to run "make idobo:layout:dfu" as root.
-You don't need the bottom section of the case if you want a slightly thinner lighter ID75 (you probably do), but then you should attach the adhesive rubber feet to the bottom of the plastic plate instead of the bottom of the case... note if you are peeling the feet off the bottom of the case to be gentle, I just tried it and accidentally ripped one in half. Edit: You can take that a step further and leave out the entire bottom of the case and the plastic plate if you put slightly thicker rubber feet on the back of the case so it clears the USB cable... and then you'll have a ID75 that is lower at the front than the back.
Edit:
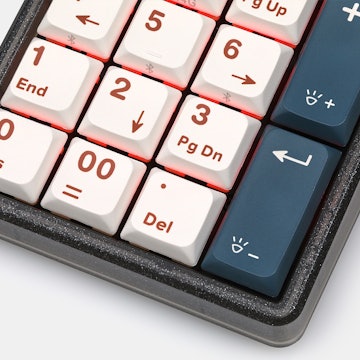
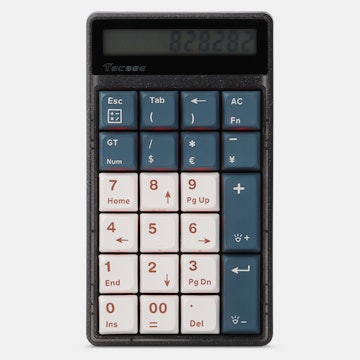
Examining the PCB there are holes for LEDs, and one of them is marked "+", which makes me wonder if the PCB is wired to support backlighting LEDs if you add them, as the firmware also contains in /idobo/rules.mk
BACKLIGHT_ENABLE = no
and in idobo/config.h
#define BACKLIGHT_PIN B7
#define BACKLIGHT_BREATHING
#define BACKLIGHT_LEVELS 3
I just tried to enable the backlight and held an LED on the PCB to see if I could get it to light up but it didn't work, which is why I'm wondering if it's wired up.
(Edited)
nomaded
117
Keyboard Club Member
Jul 9, 2019
bookmark_border
jamesk1Re: backlight LEDs. My PCB has RGB LEDs soldered on the back of the PCB. I set "BACKLIGHT_ENABLE = yes" in rules.mk and mapped some keys to control them, such as "RGB_TOG", "RGB_MOD", and "RGB_RMOD" (from https://beta.docs.qmk.fm/features/feature_rgblight). RGB_TOG turns them on.

Related Products


Drop Refurbished
Like-new products you can trustDrop Rewards
Get $5 for every 500 points you earn! Learn more
Drop Keyboard Club
Become a member and expand your keycap collectionCollaborate With Us
For Brands & DesignersFollow Drop